
The BEST Rice Krispie Treats {3 Ingredients!} +VIDEO


Gooey Rice Krispie Treats are made in minutes. This classic recipe is so scrumptious you can’t eat just one!!
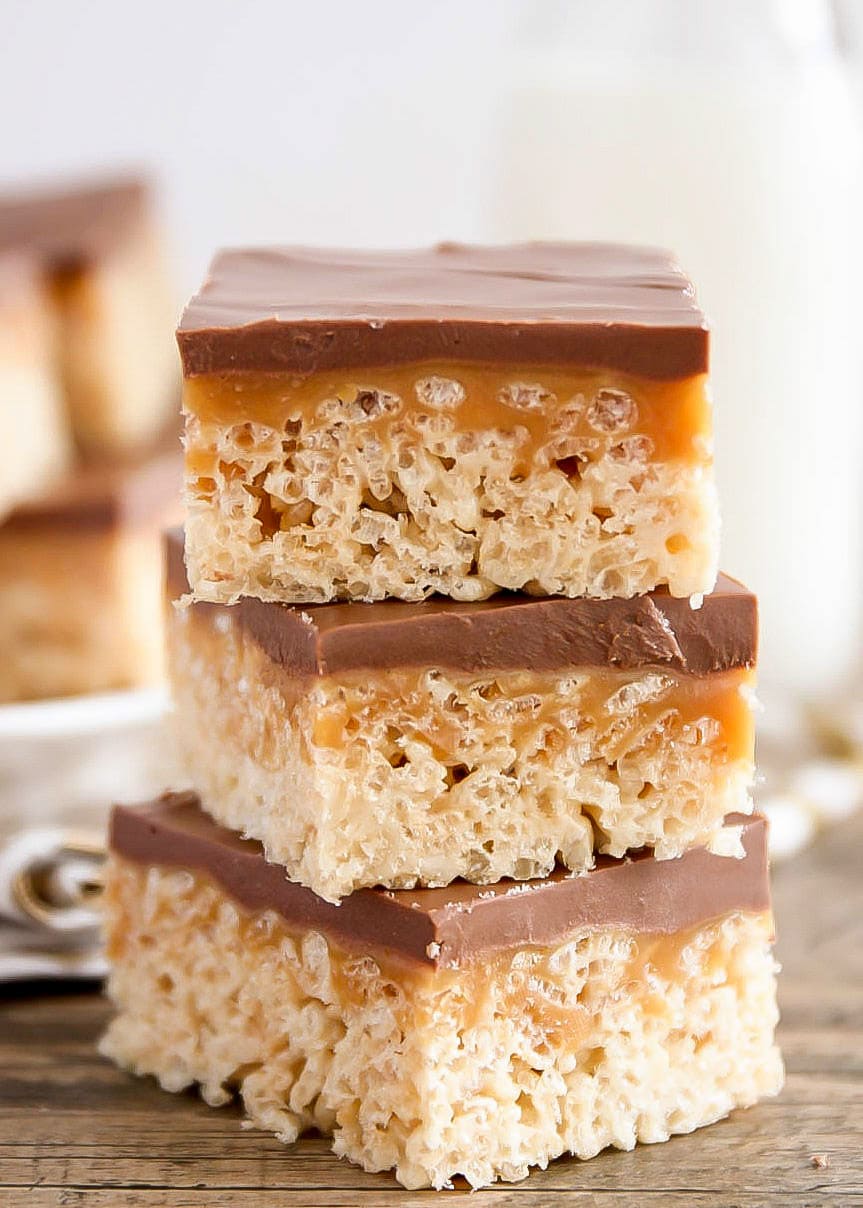
Rice Krispie Treats are easy to change up, and perfect for a last minute dessert. Try our other versions like Brown Butter Rice Krispies, Crack Rice Krispies, or Chocolate Caramel Rice Krispie Treats.

Our go-to Treat!
This Rice Krispie Treats recipe is simple, no fuss, and fail proof. You can literally make these yummy treats in under 10 minutes. That’s practically no time at all. I love a good quick dessert!
I grew up making and eating Rice Krispies Treats all the time. They’re perfect for bringing to family dinners, school functions, or dropping off to a friend in need.
We love that they can be changed up by using different flavored marshmallows, different kinds of cereal, or even adding toppings. Although, we really think these classic ones are the BEST rice krispie treats.
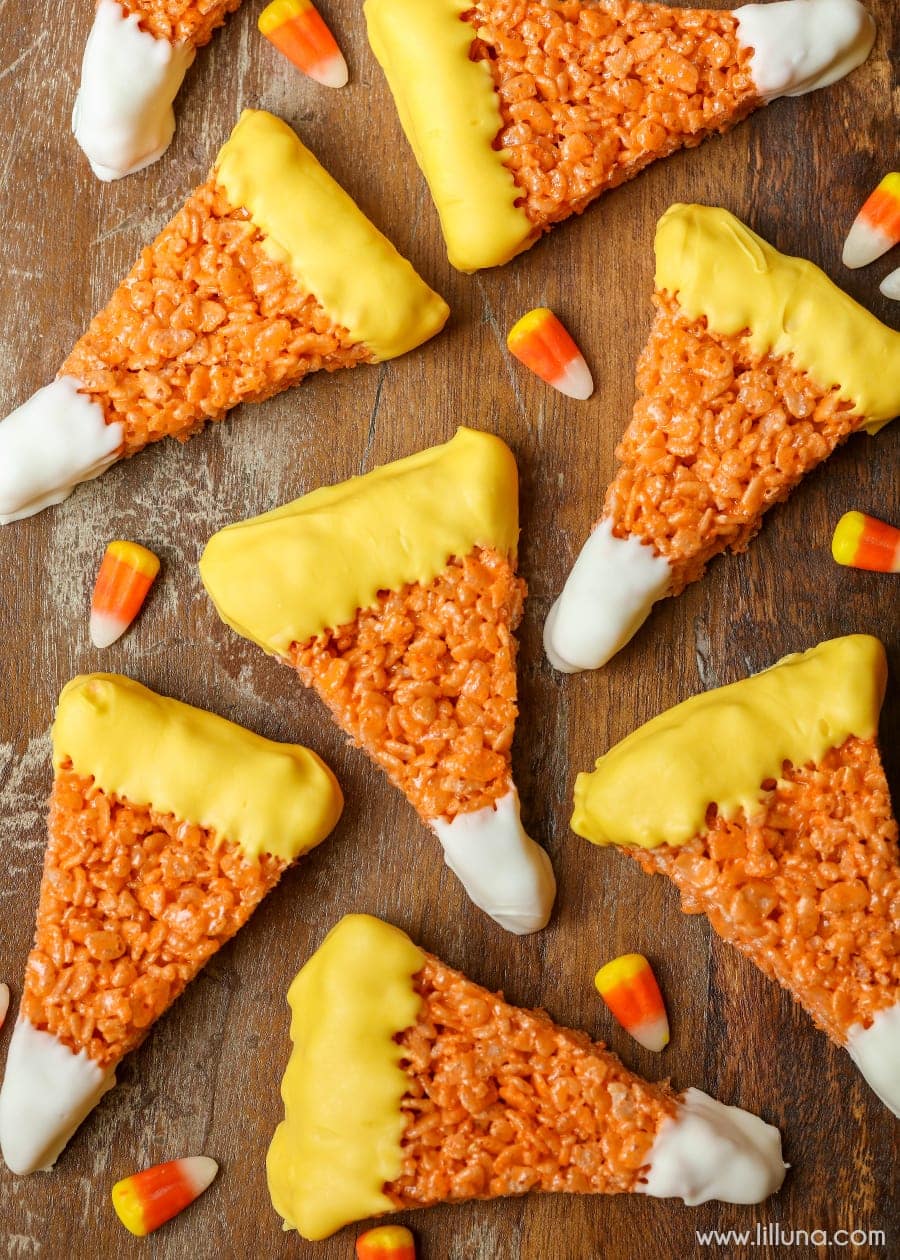
Turn them into something special for any holiday or celebration – like our festive wreath, monsters, or nests! They are classic and will always be our go-to treat.

Rice Krispie Treats Ingredients
Can we talk about how you only need THREE ingredients for this recipe? I repeat, THREE ingredients for one of the best treats ever. I bet you can guess what those three ingredients are. Yup, you’re right:
- Butter
- Marshmallows (we use regular size AND mini)
- Rice Krispies
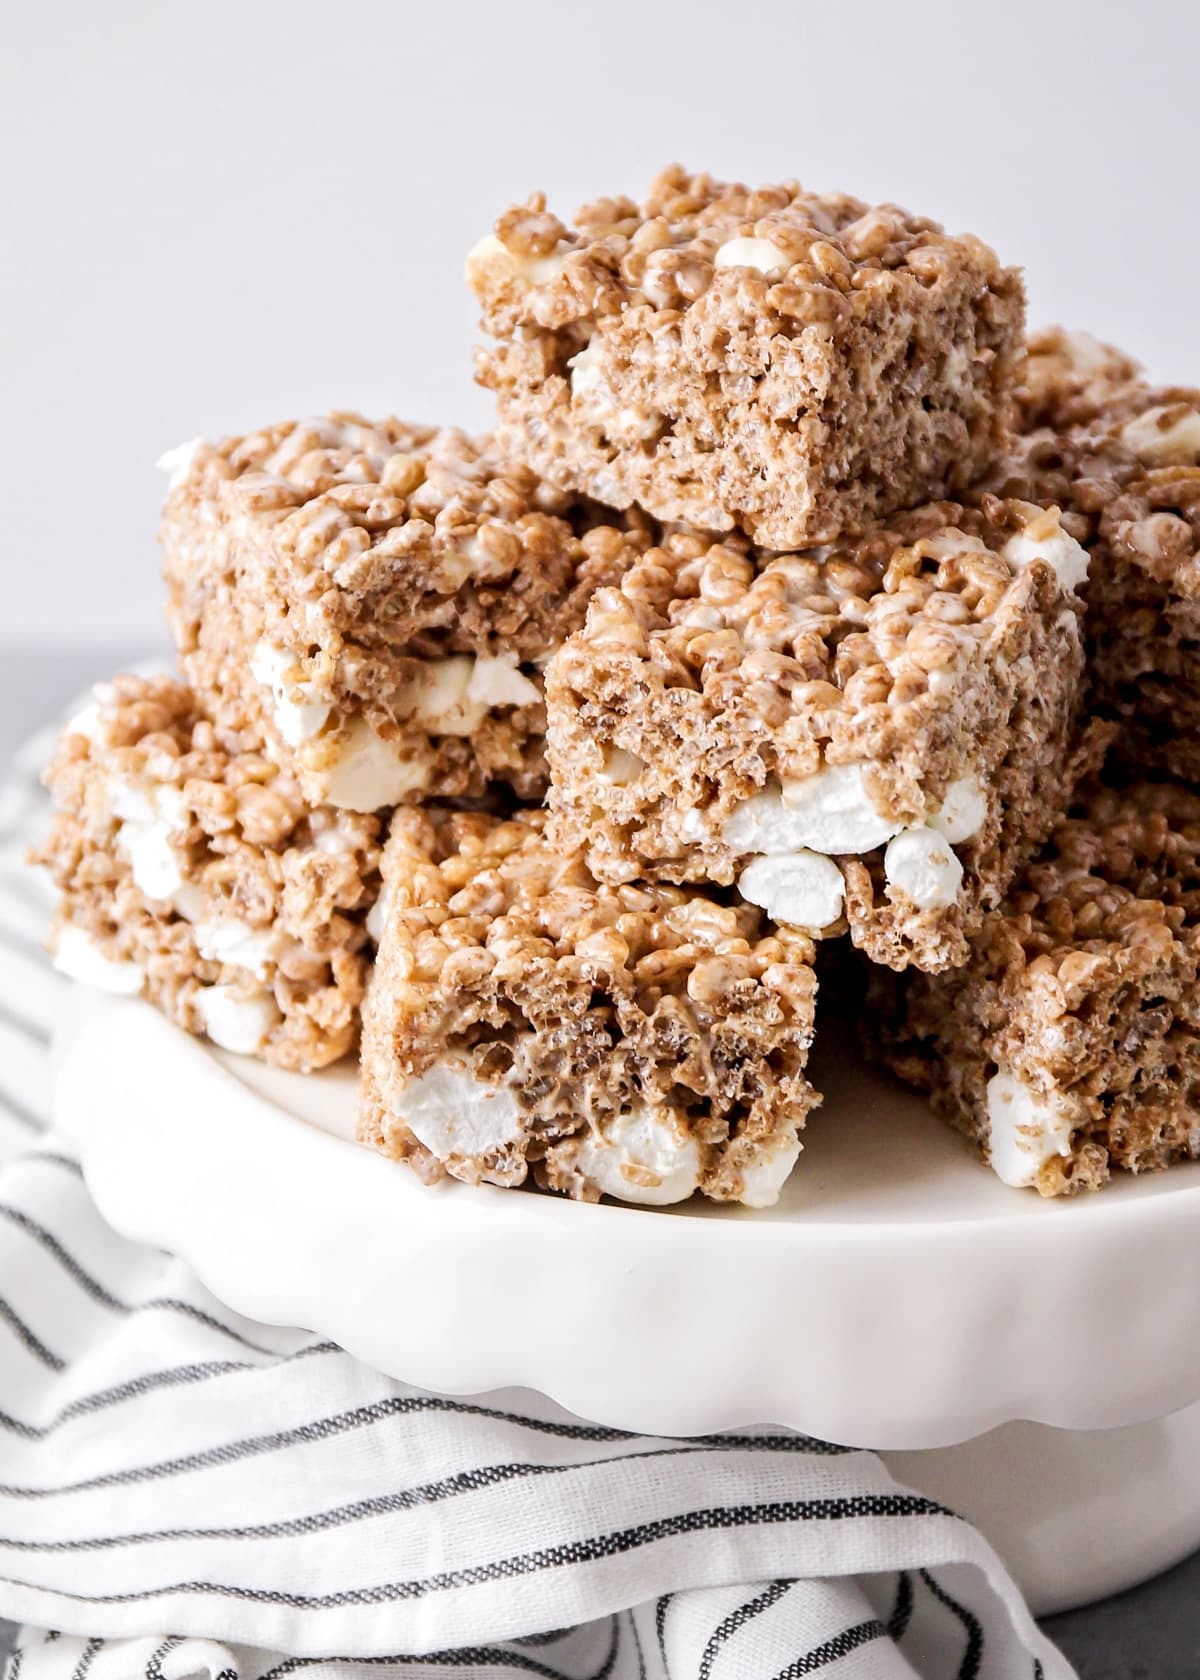
Something about the combination of those three ingredients is magical. Make sure to save 1-2 cups of mini marshmallows to mix in at the end.
I love the look of the non-melted marshmallows mixed throughout the Rice Krispie Treats. You can never have too many marshmallows!

How to Make Rice Krispie Treats
BUTTER. In a large bowl, melt butter in the microwave for 30 seconds.
MARSHMALLOWS. Add large marshmallows to butter mixture and microwave for 3 minutes.
RICE KRISPIES. Stir well and slowly add rice krispies. When all combined, toss in 1-2 cups mini marshmallows and pour into a greased 9×13 pan. Let set and enjoy!
Using a 16 oz. bag of large marshmallows: It’s easy to modify the recipe just a bit to make more and use a 16 ounce bag of marshmallows. Just use the larger bag and add 1 more tablespoon butter, 1 ½ – 2 cups more Rice Krispies and 2 more cups of mini marshmallows.
Also note: 4 ounces of marshmallows = 16 large marshmallows.
Best way to make even cuts:
- Line the pan with parchment paper before pressing the treats inside.
- Allow them to cool. Warm treats don’t cut as crisply.
- Once the rice krispies have set, remove the entire block by lifting them out with the parchment paper.
- Use a large sharp kitchen knife to make even clean cuts.

(You can use wax paper to press down the gooey treats or even put butter or cooking spray on your hands to help mold the treats into the pan).
recipe Tips + Tricks
Keep them soft. Also:
- Don’t use old marshmallows. Save that bag that’s been hiding in the back of the pantry for hot chocolate and use a fresh bag for this recipe.
- Don’t over heat the marshmallows.
- Don’t pack the rice krispie layer too tightly.
- Store them in airtight containers.
- 10 mini marshmallows is about 1 large marshmallow.
Gluten Free. Kelloggs Rice Krispie Cereal uses malt flavoring, so they are not gluten free. I usually have good success using generic brands. Always check the package for malt or wheat ingredients.
Stove Top. Melt the butter in a large saucepan over medium heat. Add the large marshmallows and use a rubber spatula to stir over medium-low heat until they have all melted. Remove from the heat and mix the crispy rice cereal in, then fold in the miniature marshmallows into the mixture.

Storing info
STORE. These crispy treats will stay fresh for about 3 days if kept in an airtight container. They’ll be edible longer, but they will begin to harden.
Keep them in a container that will fit all of them just right, without much excess air. The more open space, the more likely they are to dry out faster. Wrapping them in plastic wrap before storing will help them stay soft as long as possible.
Store them at room temperature and not in the fridge.
FREEZE. Wrap each treat with plastic wrap and place them in a freezer Ziploc. Freeze for up to 3 months. Thaw before eating. Freezing extends the shelf life, but they will not be soft and gooey like fresh treats.
Variations
One of the things I like most about Rice Krispie Treats is that there are so many different varieties you can make! And it only takes a couple extra easy steps to change it up.
- Chocolate. Add in some melted chocolate to turn these into chocolate Rice Krispie Treats.
- S’mores. Add in chocolate chips and graham crackers to make them s’mores flavored!
- Sprinkles. Throw in rainbow sprinkles and call them birthday Rice Krispie Treats.
- Vanilla. For a little added flavor, add 1 teaspoon of vanilla extract along with the large marshmallows.
We have a TON of different variations on our website that you should totally check out. Here are some of our favorites:
Honestly, the possibilities are endless!! Also, think about all the different cereal combos you could make: Trix, Fruity Pebbles and the varieties of Rice Krispies. 😉

For More Treat Bars, try:
-
In a large bowl, melt butter in the microwave for 30 seconds.
-
Add large marshmallows to butter bowl and microwave for 3 minutes.
-
Stir well and slowly add rice krispies. When all combined, toss in 1-2 cups mini marshmallows and then pour into a greased 9×13 pan. Let set and enjoy!


