
5-Ingredient Protein Bars (no-bake!) | Chew Out Loud
 | Chew Out Loud")
No-Bake Protein Bars Recipe
If you’ve ever stashed up on store-bought protein bars, you know it can quickly empty your wallet. The price of high quality pre/post workout energy in the form of a bar…it adds up fast. Not to mention, many pre-packaged energy bars are loaded with ingredients that leave you scratching your head in doubt.
You’re about to leave all that behind, with these super easy homemade protein bars, made of only 5 pure, natural ingredients. You’ll be rewarded with a nice batch of fresh protein bars that cost way less than typical store bought bars.
Feel energized, fueled, and happily satisfied when grabbing your own homemade protein bars on the go. And have leftover cash for that latte after your workout, because you can.
Homemade Protein Bars – only 5 ingredients
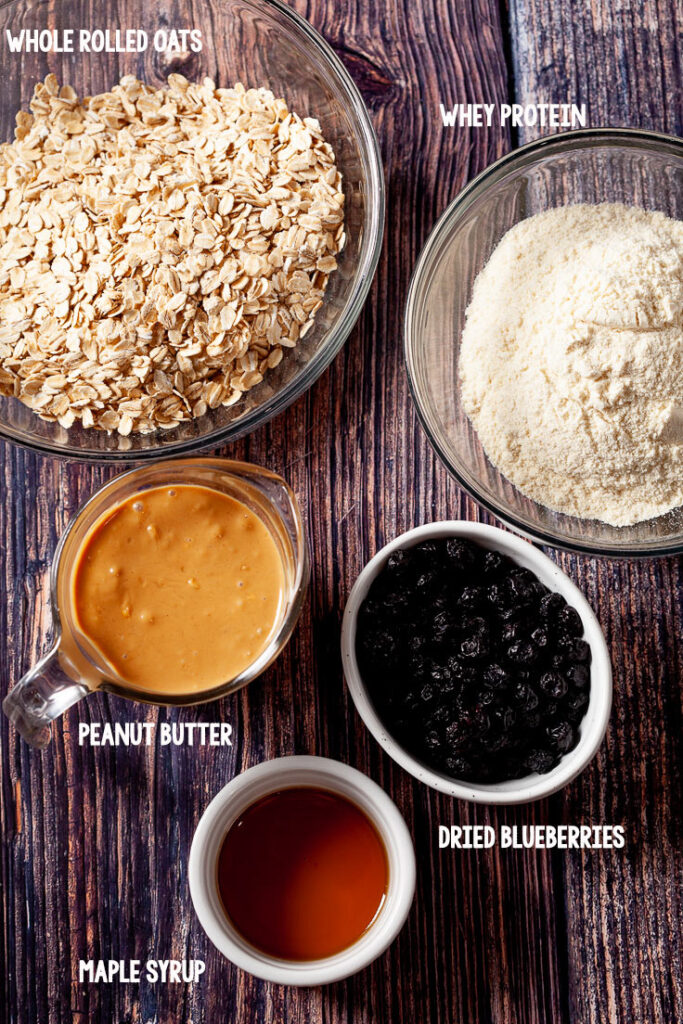
You’ll love the pure, nutritious, simple ingredients that go into these quality protein bars. All you need are:
- Whole Rolled Oats: whole oats provide a more robust texture than quick or instant oats.
- Real Peanut Butter: we love chunky peanut butter, as it lends a bit of crunch to the bars.
- Whey Protein Powder: feel free to use your favorite flavor, though we highly recommend steering clear of artificial sugars, as those tend to have an unpalatable aftertaste. Our personal favorite is pure, unflavored 100% whey protein powder, which we’ve been using for years.
- Real Maple Syrup or Honey: it just feels better than sugar. Plus, maple or honey has the sticky texture needed to help bind the bars.
- Milk: we like cow’s milk for this recipe, but feel free to use your milk of choice.
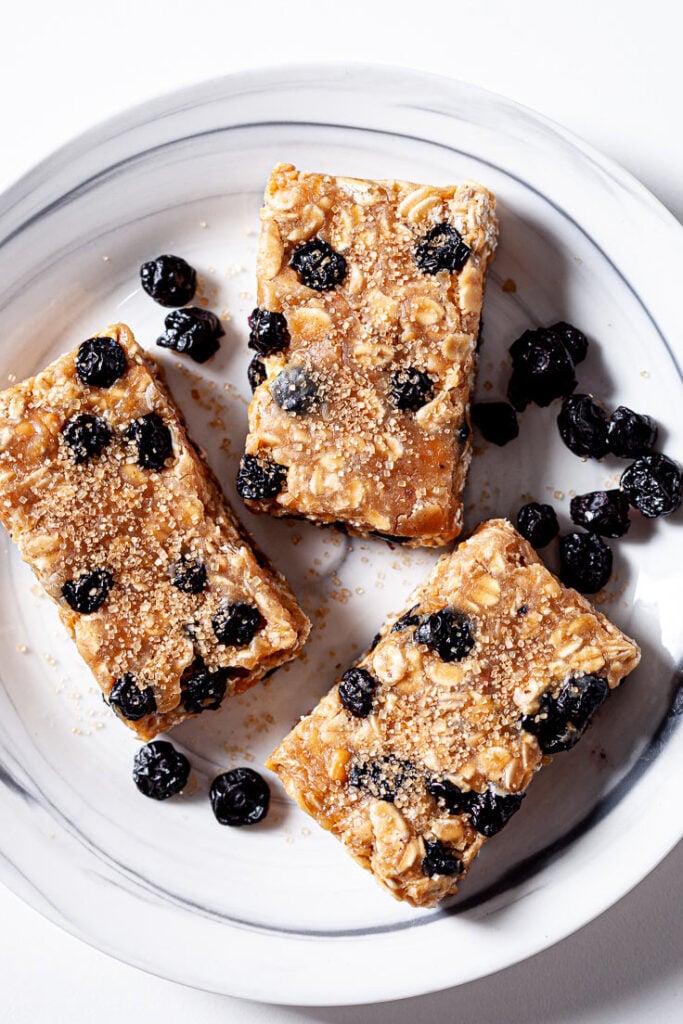
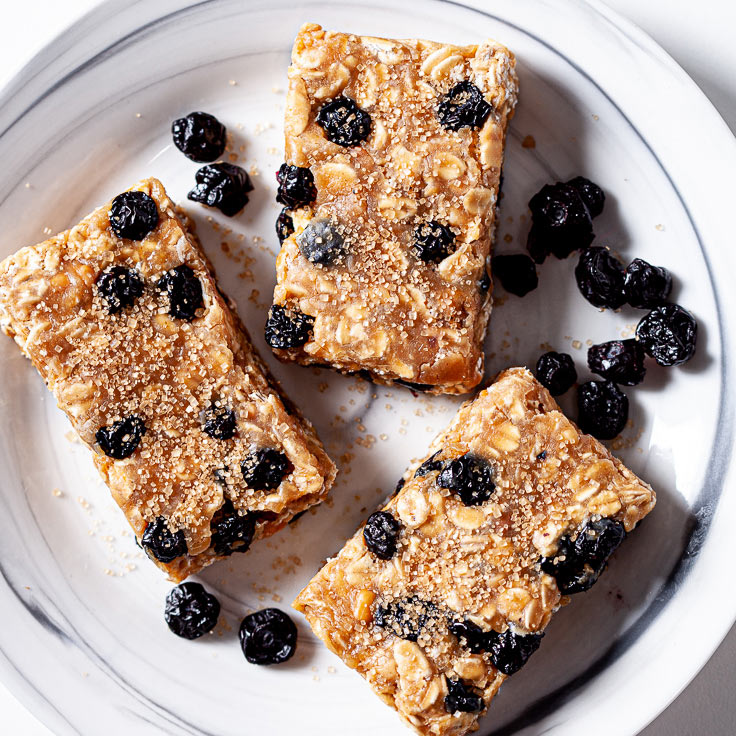
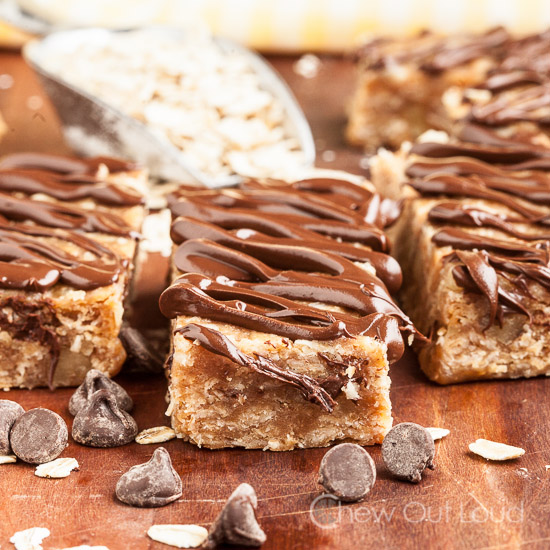
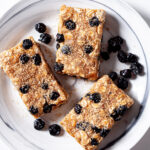
- Add-ins: We love dried blueberries, chocolate chips, or even drizzled chocolate on top
- Tip: If you’re planning to stash these bars in your gym bag, backpack, or lunch sack, we recommend skipping the drizzle on top. They’ll stay a lot neater that way and you’ll like us more.
Homemade Protein Bars Keep Well and Freeze Well
These no-bake, 5-ingredient protein bars are JUST the thing for a nutritious energy boost. I make a nice big batch, which comes in handy for pick-me-up snacks when the kids get the munchies. They’re even great for breakfast on the go.
Thankfully, these homemade protein bars keep extremely well at a mild room temperature, stored airtight. They keep even longer if kept in an airtight container or in individual baggies in the fridge. If you like prepping ahead, feel free to freeze some protein bars so you can have them on hand all month long.
Protein Bars Recipe
Commonly Asked Questions
We highly recommend steering clear of artificial sugars, as those tend to have an unpalatable aftertaste. Our personal favorite is pure, unflavored 100% whey protein powder, which we’ve been using for years.
You can certainly use your favorite flavor or protein powder, though we recommend using unflavored, pure whey protein and your choice of add-ins for best results.
These protein bars keep well when stored airtight, up to 1 week at moderate room temperature. They can keep longer chilled in fridge, and up to 3 months in the freezer.
We love the creamy richness whole milk provides, but feel free to use your choice of milk: almond milk, oat milk, soy milk, and coconut milk can all be substituted.
More to Eat
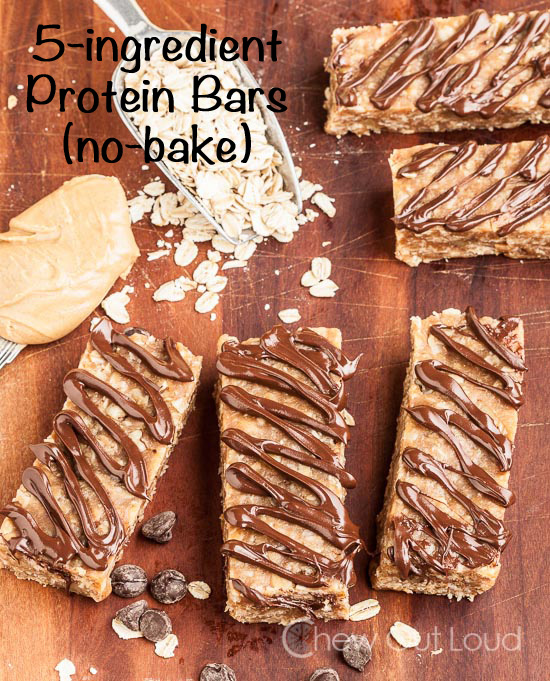
5-Ingredient Protein Bars (no-bake!)
These 5-ingredient Protein Bars are super easy, packed with nutrition, and are the perfect pre/post workout fuel. They’re reminiscent of store-bought energy bars, but are way more budget-friendly when you make them at home.
Servings: 12
- ½ cup milk
- 1 cup peanut butter, chunky
- ½ cup maple syrup, or honey, plus extra to taste
- 1 cup whey protein powder, plain, unflavored recommended*
- 2 cups whole rolled oats, uncooked
- 1 tsp cinnamon, optional
- Optional Add-ins, 1 cup: chocolate chips, raisins, dried blueberries, chopped dates, or melted chocolate for topping
-
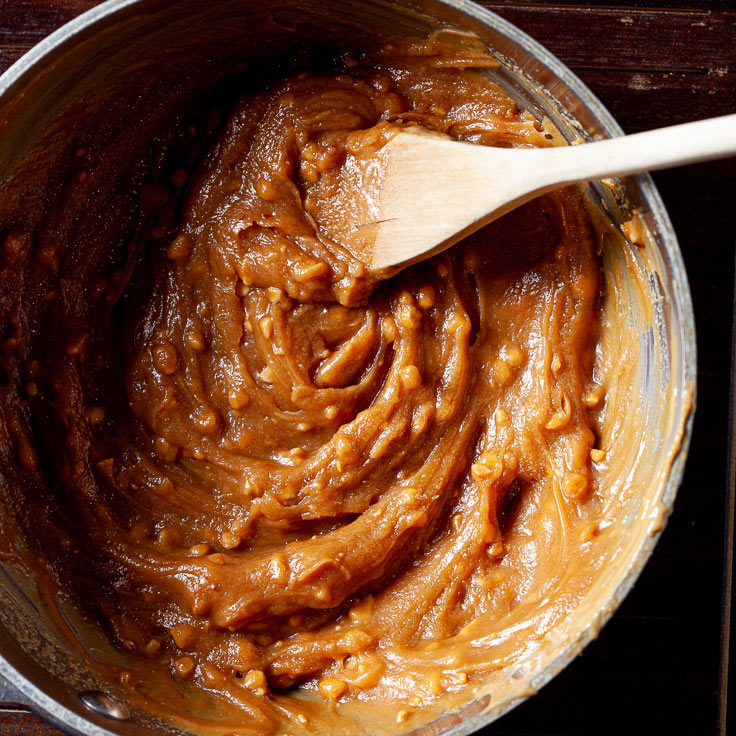
In a medium heavy pot, combine milk, peanut butter, and maple syrup/honey over low heat. Stir just until all ingredients are well combined and warmed through. Remove from heat.
-
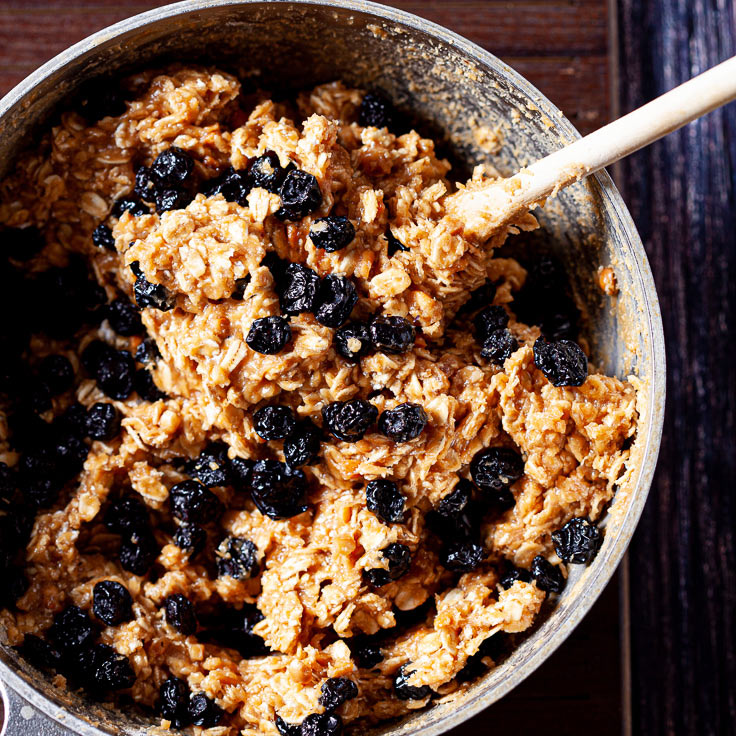
Add protein powder, oats, and optional cinnamon or add-ins. Stir to combine well. Taste and add more maple syrup or honey if desired. (If mixture is too thick to stir, simply add a bit more milk.)
-
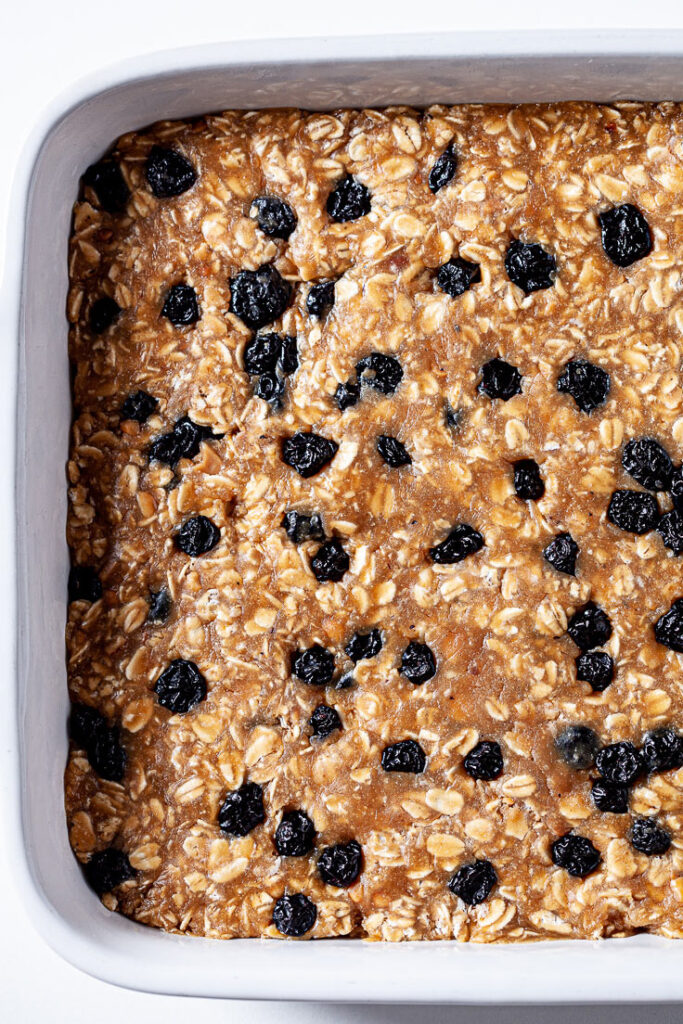
Lightly grease an 8×8 pan. Press evenly into pan, using firm pressure to compress mixture into desired bar thickness. Tip: use wet or lightly greased hands to prevent sticking.
-
Allow bars to cool completely. Once cool, cut into squares. If desired, drizzle with melted chocolate and let cool. Wrap in airtight container and store at moderate room temp for several days, or chilled in fridge for a week.
You can use vanilla or chocolate protein powder, but we recommend using unflavored, pure 100% whey protein powder, made without fake/artificial sugars and no funny aftertaste.
Make it dairy-free or nut-free: use almond or coconut milk or any other milk of your choice. Use sunflower butter instead of a nut butter.
If you’re planning to pack these bars to go, use add-ins rather than drizzling on top.
If you enjoyed this recipe, please come back and give it a rating 🙂
Serving: 1g | Calories: 239kcal | Carbohydrates: 20g | Protein: 14g | Fat: 13g | Saturated Fat: 3g | Polyunsaturated Fat: 3g | Monounsaturated Fat: 6g | Cholesterol: 16mg | Sodium: 128mg | Potassium: 213mg | Fiber: 2g | Sugar: 7g | Vitamin A: 41IU | Vitamin C: 0.01mg | Calcium: 62mg | Iron: 2mg
Did you make this?
Leave a comment below and tag @chewoutloud on Instagram


