
Lunch Lady Peanut Butter Bars

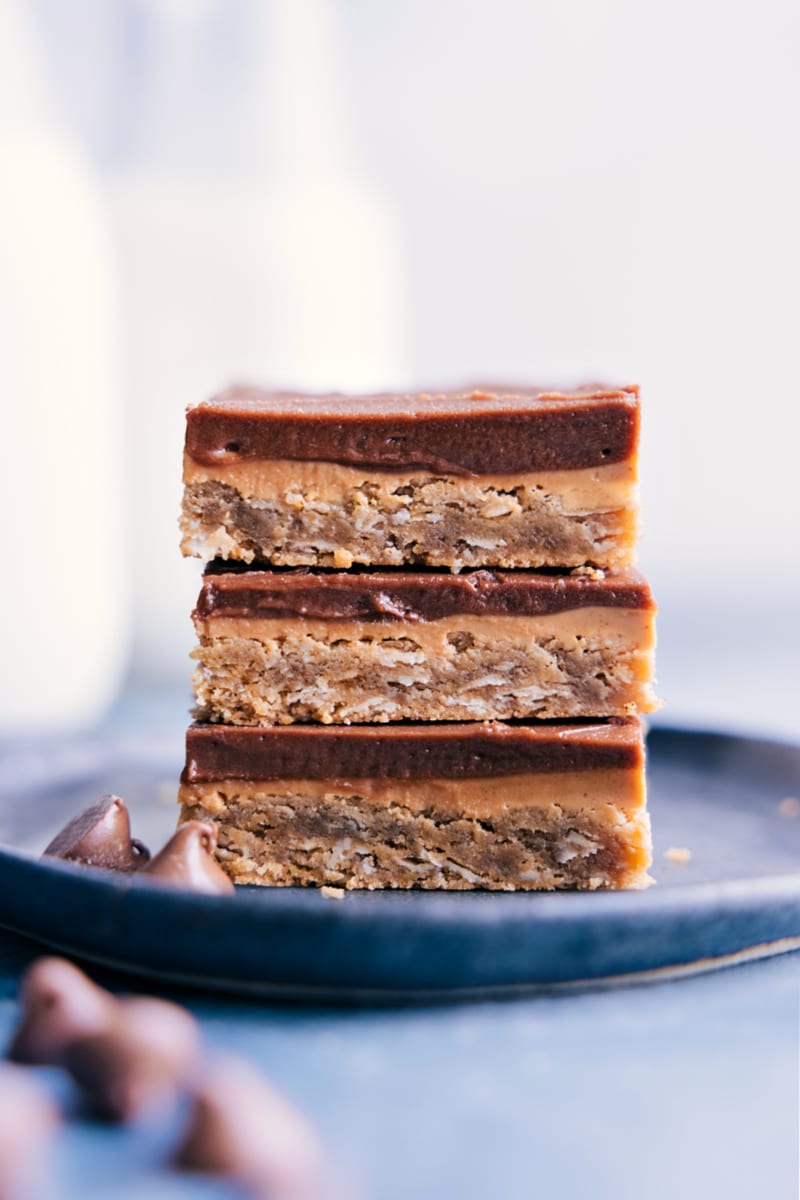
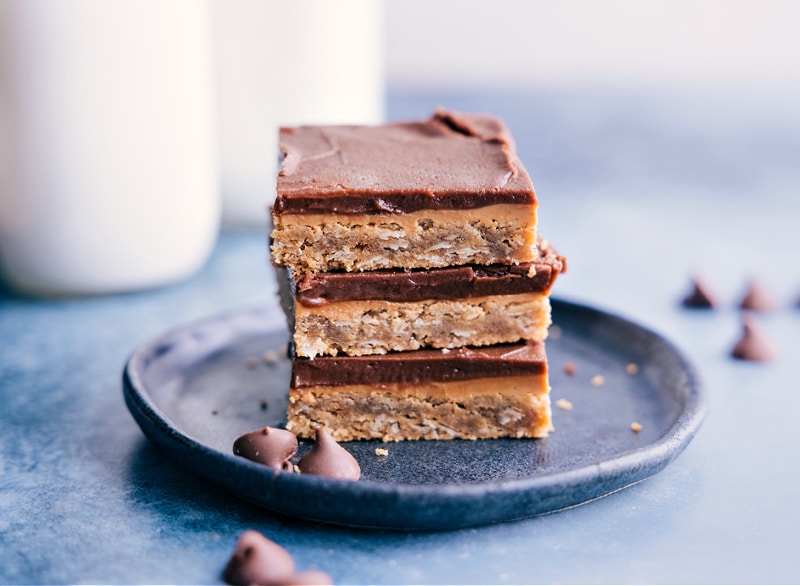
These Lunch Lady Peanut Butter Bars are one for the books! A soft, chewy peanut butter oatmeal cookie base is topped with warm and creamy peanut butter and finished off with a sweet chocolate frosting.
If you’re looking for no-bake peanut butter bars, try these Peanut Butter Bars. This recipe is for Old School Peanut Butter Bars that start with a baked cookie base!

Lunch Lady Peanut Butter Bars
Old-school cafeteria peanut butter squares started with a peanut butter oatmeal cookie bar and were topped with creamy peanut butter and a chocolate fudge frosting.
And although these bars are no longer served in school cafeterias due to peanut allergy concerns, these were the treats I grew up on. They were hands down my favorite lunchtime treat and I grabbed one every chance I could.
And now, these bars are a family favorite treat and one of my go-to desserts to whip up whenever there’s a need to feed a crowd. This dessert yields a large number of bars — an entire sheet pan of them in fact! And that means I can confidently claim half the sheet pan for myself, and still end up having plenty to share.

What Pan To Use
These bars require a specific pan to work and unfortunately, the bars won’t turn out well in different sized pans; this part of the recipe is very particular.
We are looking for a 17 x 12.25-inch jelly roll pan.
Once you’ve got the perfect pan, it’s time to make these Lunch Lady Peanut Butter Bars!
There are three elements to these bars:
- The chewy and soft oatmeal cookie base
- Peanut butter topping
- Chocolate fudge buttercream frosting
Let’s break down each below!

1. The Oatmeal Cookie Base
The cookie base is intended to be soft, chewy, and oh-so flavorful. Below are my top tips for ensuring a perfect base every time:
- Do not overbake: The cookie base will go from perfectly cooked to overbaked quickly. The base continues to firm up after being baked as it sits and cools. If the base is overbaked the cookies will end up a bit dry and lose out on that soft and chewy texture. They also won’t have as much flavor.
- Make sure to use creamy, not crunchy, peanut butter for best results. I recommend using a peanut butter that you love — if you like a spoonful of the peanut butter plain, you’ll love it in these bars. We love and highly recommend Skippy® Creamy Peanut Butter (not sponsored), We don’t recommend a natural peanut butter that needs stirring.
- Line the sheet pan. These bars end up with softer bases when baked on a lined sheet pan — we like lining the pan with a sheet of parchment paper. It also makes removal and cutting the bars that much easier!


2. Peanut Butter Filling
Once the cookie base has been baked, we spread on creamy peanut butter. We’ve found the best way to easily spread on the peanut butter is to warm it to pourable consistency in the microwave.
Once thoroughly warmed, drizzle it evenly over the bars and gently spread into an even layer with an offset spatula or table knife.
3. Chocolate Fudge Frosting
- Which cocoa powder to use: Use natural cocoa powder, for a lighter chocolate flavor and Dutch-process cocoa powder for a darker, richer, slightly more bitter frosting flavor.
- Butter consistency matters: For the perfect frosting consistency, it’s important the butter is at the right temperature. If the butter is too cold, the frosting will seize up and not cream as nicely. If it is too warm, the frosting will be too soft.

QUICK TIP
What exactly is the consistency of softened butter? The butter should be soft enough to leave a finger indent when using a little bit of pressure, but not soft enough to squish or crush the packaging.

Lunch Lady Peanut Butter Bars Recipe Tips
- Use fresh ingredients. For the softest and best-possible cookie bars, use fresh, soft brown sugar and fresh baking agents.
- Choose old-fashioned oats. While it may seem like old-fashioned oats and quick oats can be interchanged easily enough, they don’t work the same when baking. Because of their small size, quick oats act more like flour, absorbing more liquid– which results in drier, less flavorful cookie bars. This recipe relies on old-fashioned oats, and won’t work the same with any other oat type.
- Try Lunch Lady Peanut Butter Brownies instead! Whip up your favorite brownie recipe, top it with creamy peanut butter, and finish off the bars with a chocolate buttercream frosting. Or try a Lunch Lady Peanut Butter Cake by making this Chocolate Cake Recipe, frosting the center with a peanut butter buttercream, and frosting the exterior with a chocolate buttercream frosting.

STORAGE
How To Store Lunch Lady Peanut Butter Bars
- These bars store nicely in an airtight container at room temperature. They are the best and softest within 2-3 days of making but will last (properly stored) for about 5-7 days.
- These bars freeze well. Wrap each bar individually in plastic wrap and then store the wrapped bars in a large plastic bag or freezer-safe container. Thaw bars overnight in the fridge. Freeze for up to 3 months.
More Chocolate and Peanut Butter Treats:
Recipe adapted from Six Sister Stuff!
Lunch Lady Peanut Butter Bars
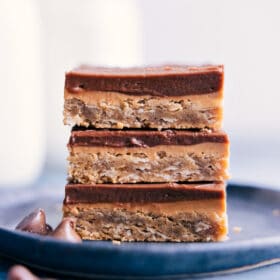
These Lunch Lady Peanut Butter Bars are one for the books! A soft, chewy peanut butter oatmeal cookie base is topped with warm and creamy peanut butter and finished off with a sweet chocolate frosting.
Lunch Lady Peanut Butter Bars
These Lunch Lady Peanut Butter Bars are one for the books! A soft, chewy peanut butter oatmeal cookie base is topped with warm and creamy peanut butter and finished off with a sweet chocolate frosting.
Ingredients
Peanut Butter Filling & Frosting
Instructions
-
PREP: Preheat oven to 350 degrees F. Generously grease or add parchment paper to a 17×12.25-inch jelly roll pan (Note 3). Set aside.
-
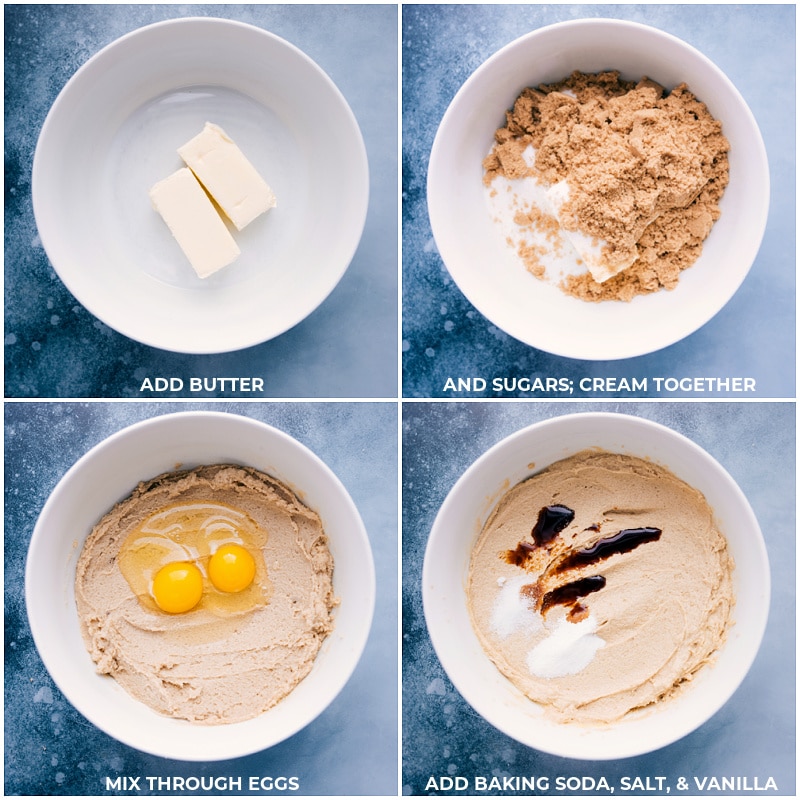
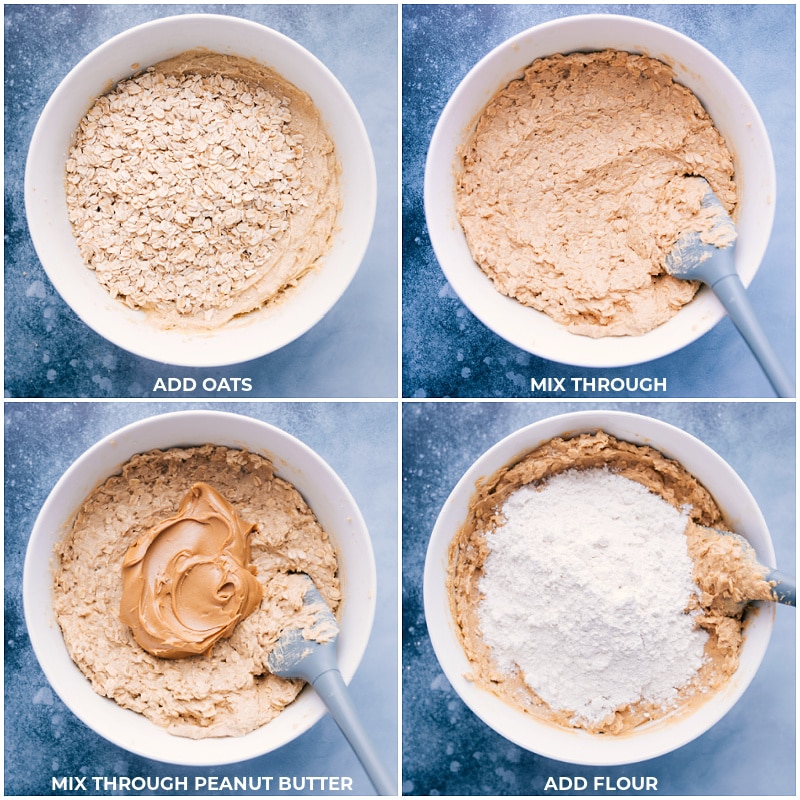
COOKIE BASE: In a bowl attached to a stand mixer (or use a large bowl with a hand mixer), cream together the softened butter (Note 4), white sugar, and brown sugar until smooth and creamy (the consistency of peanut butter). Add eggs; beat to combine. Add vanilla, baking soda, salt, and oats. Mix until just incorporated and then add in peanut butter. Mix until just incorporated. Finally, add in the flour and mix until just incorporated.
-
BAKE: Spread out dough in an even layer on the prepared sheet pan. Bake for 15-17 minutes and then remove. Be careful to not overbake the bars. We want a soft, chewy, and flavorful cookie base!
-
PEANUT BUTTER: Let cookie bars cool for 5 minutes then warm 1-1/2 cups peanut butter in the microwave for about 30-60 seconds or until it will drizzle nicely. Drizzle the peanut butter evenly on the cookie base and then, using a table knife or offset spatula, gently smooth peanut butter in an even layer. Then let the bars cool completely until the peanut butter has fully set up. (I pop the bars in the fridge/freezer for a little!)
-
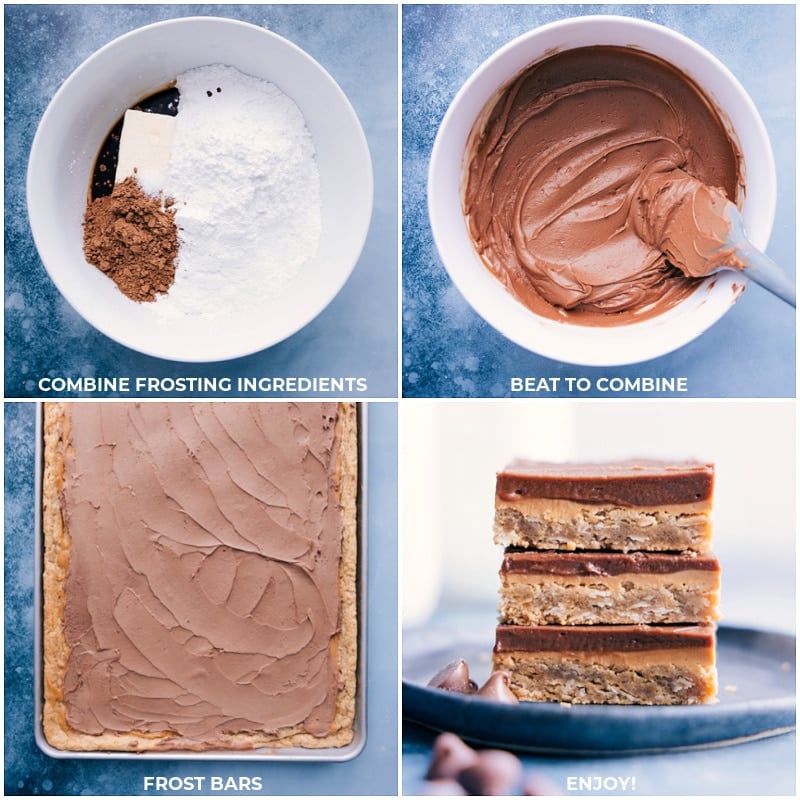
FROSTING: Meanwhile, whip together the frosting. Add all the frosting ingredients to a large bowl (or a stand mixer) and beat until smooth and combined. Dollop scoops of frosting on top of bars and gently spread into an even layer.
-
CUT BARS: Cut into the bars with a hot sharp knife. Run the knife under hot water, dry it off, and then immediately cut the bars. Enjoy!
-
STORAGE: Cover leftover bars tightly and store at room temperature for up to 5-7 days. To freeze: Wrap each bar individually in plastic wrap and then store the wrapped bars in a large plastic bag or freezer-safe container. Freeze for up to 3 months. Thaw bars overnight in the fridge.
Recipe Notes
Note 2: Peanut butter: Make sure to use creamy, not crunchy, peanut butter for best results. We love and highly recommend Skippy® Creamy Peanut Butter (not sponsored), We don’t recommend a natural peanut butter that needs stirring.
Note 3: Pan size: These bars require a specific-sized pan to work and unfortunately, the bars won’t turn out well in different sized pans; this part of the recipe is very specific. We are looking for a 17 x 12.25-inch jelly roll pan.
Note 4: What is the consistency of softened butter? The butter should be soft enough to leave a finger indent when using a little bit of pressure, but not soft enough to squish or crush the packaging
Nutrition Facts
Serving: 1serving | Calories: 329kcal | Carbohydrates: 39g | Protein: 6.5g | Fat: 17.3g | Cholesterol: 30.7mg | Sodium: 91.9mg | Fiber: 1.9g | Sugar: 22.7g
We do our best to provide accurate nutritional analysis for our recipes. Our nutritional data is calculated using a third-party algorithm and may vary, based on individual cooking styles, measurements, and ingredient sizes. Please use this information for comparison purposes and consult a health professional for nutrition guidance as needed.


